Understanding the Sacroiliac Joint and Mobilization Goals
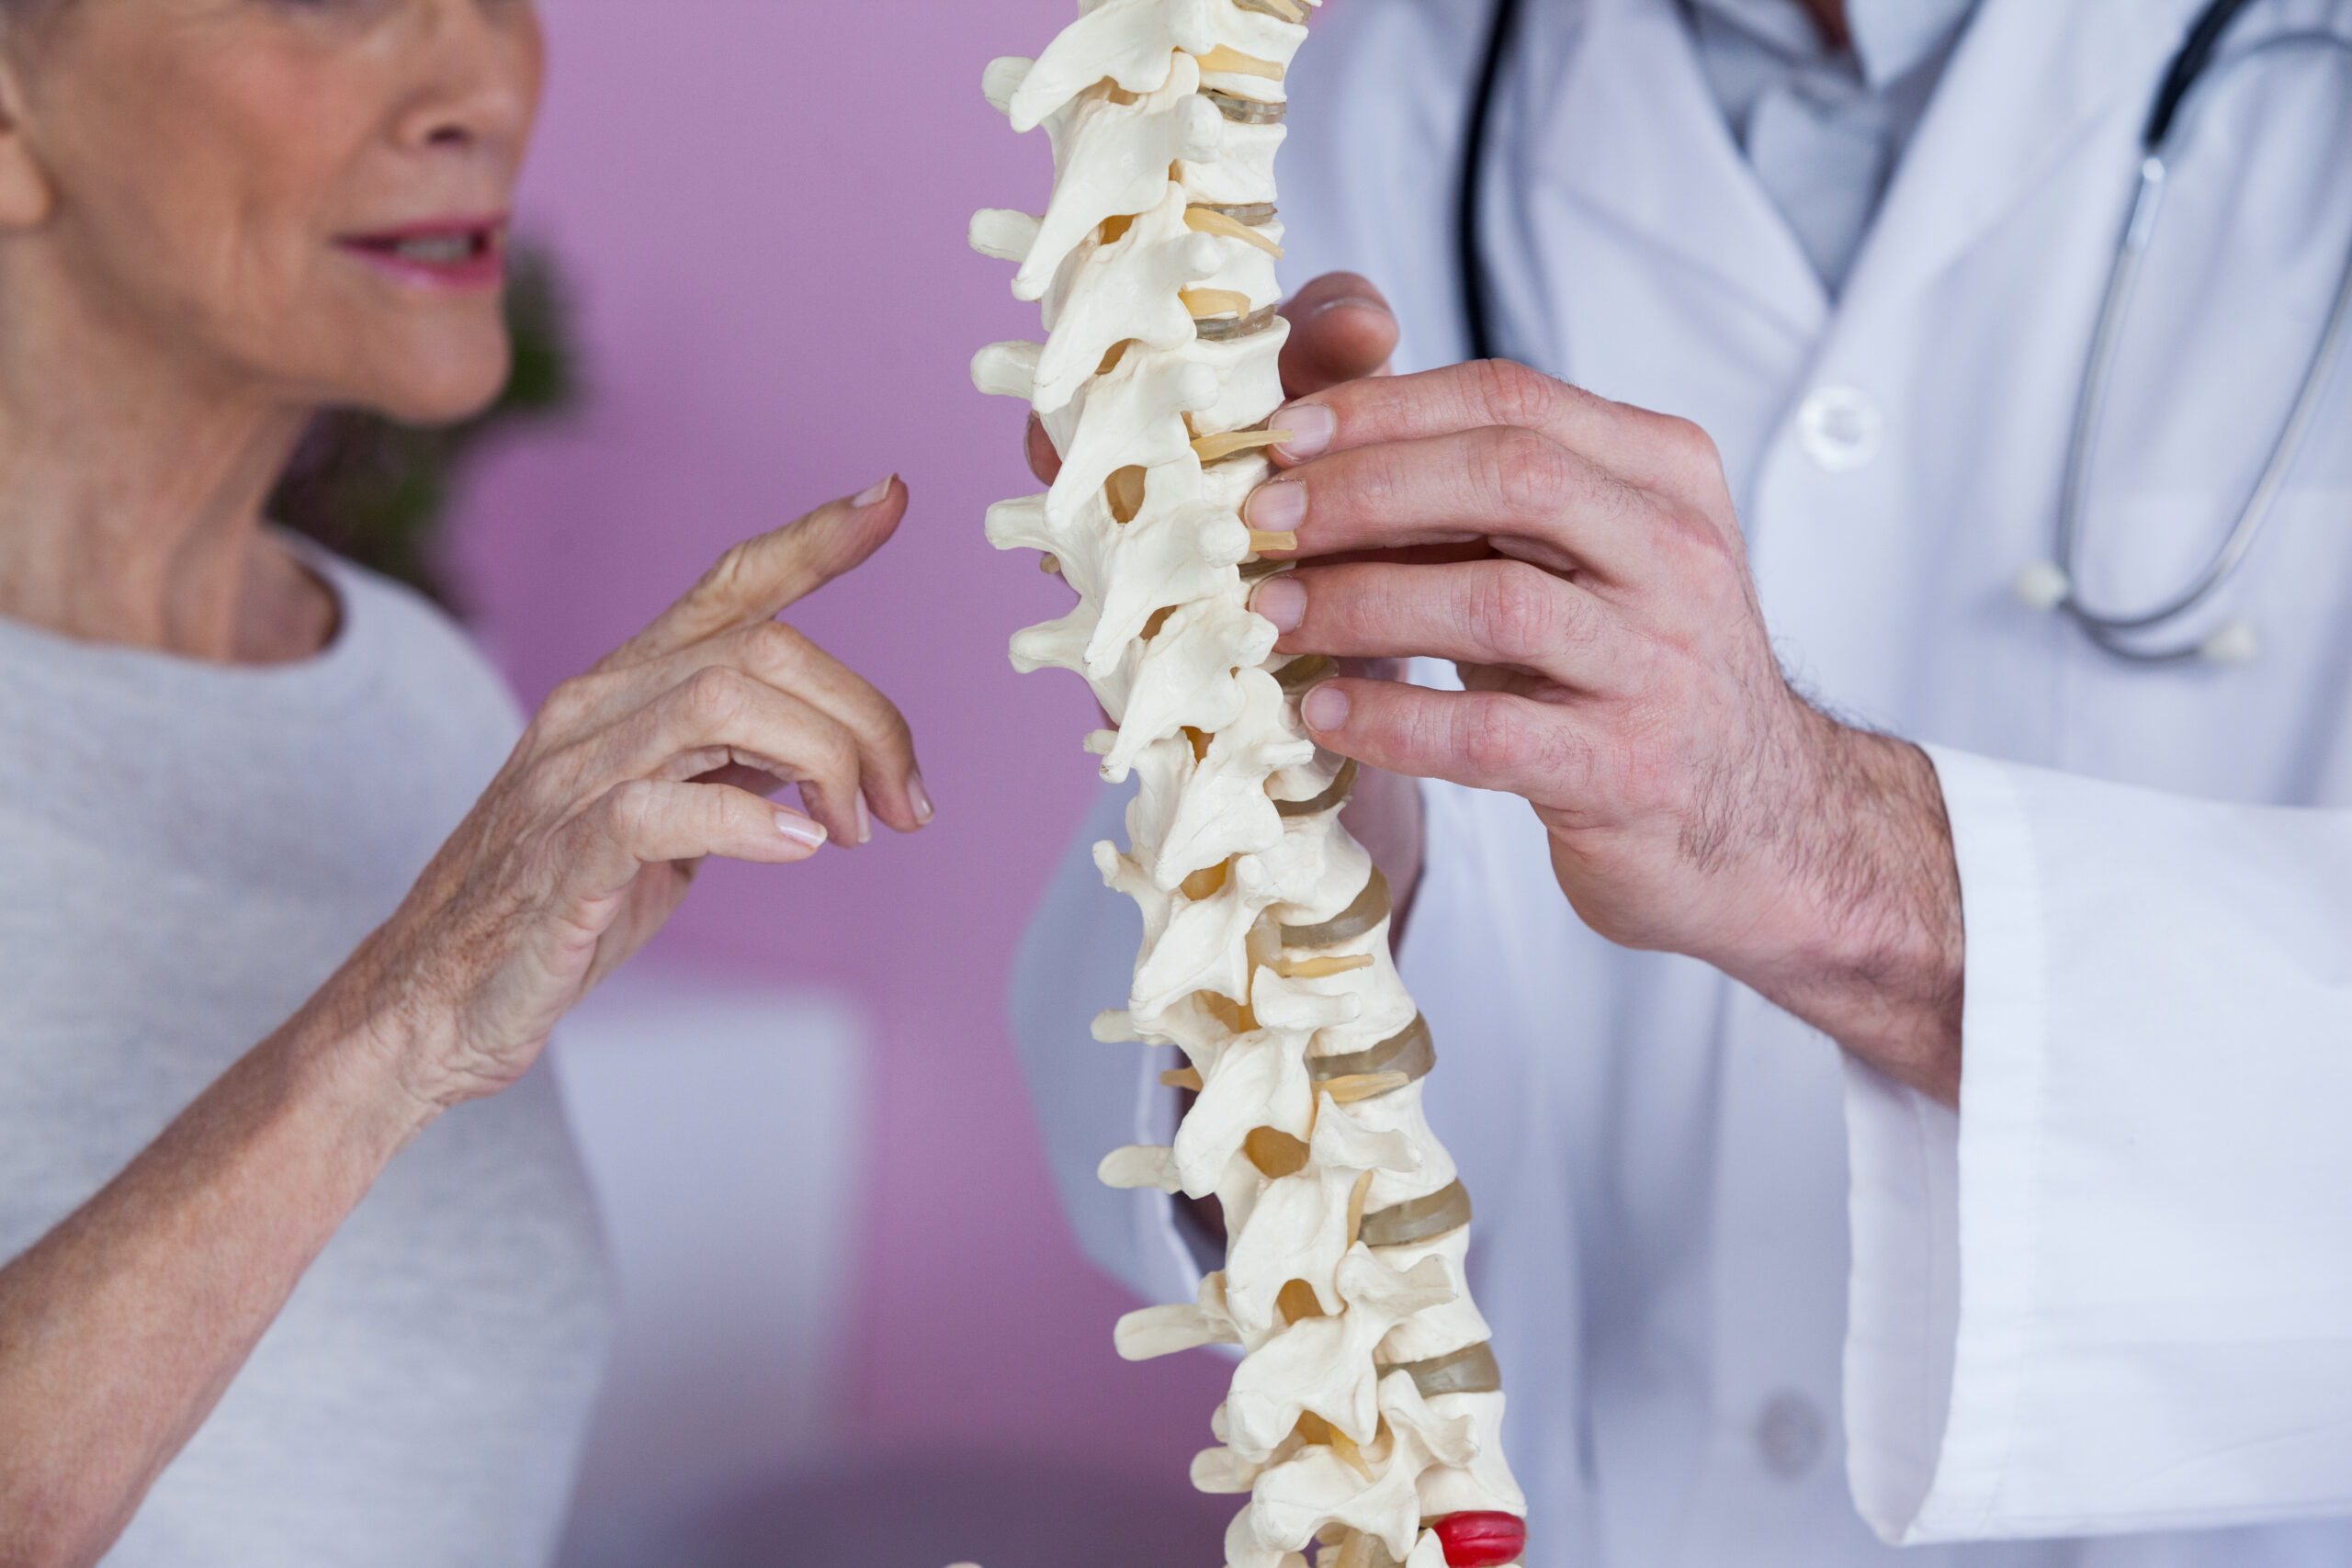
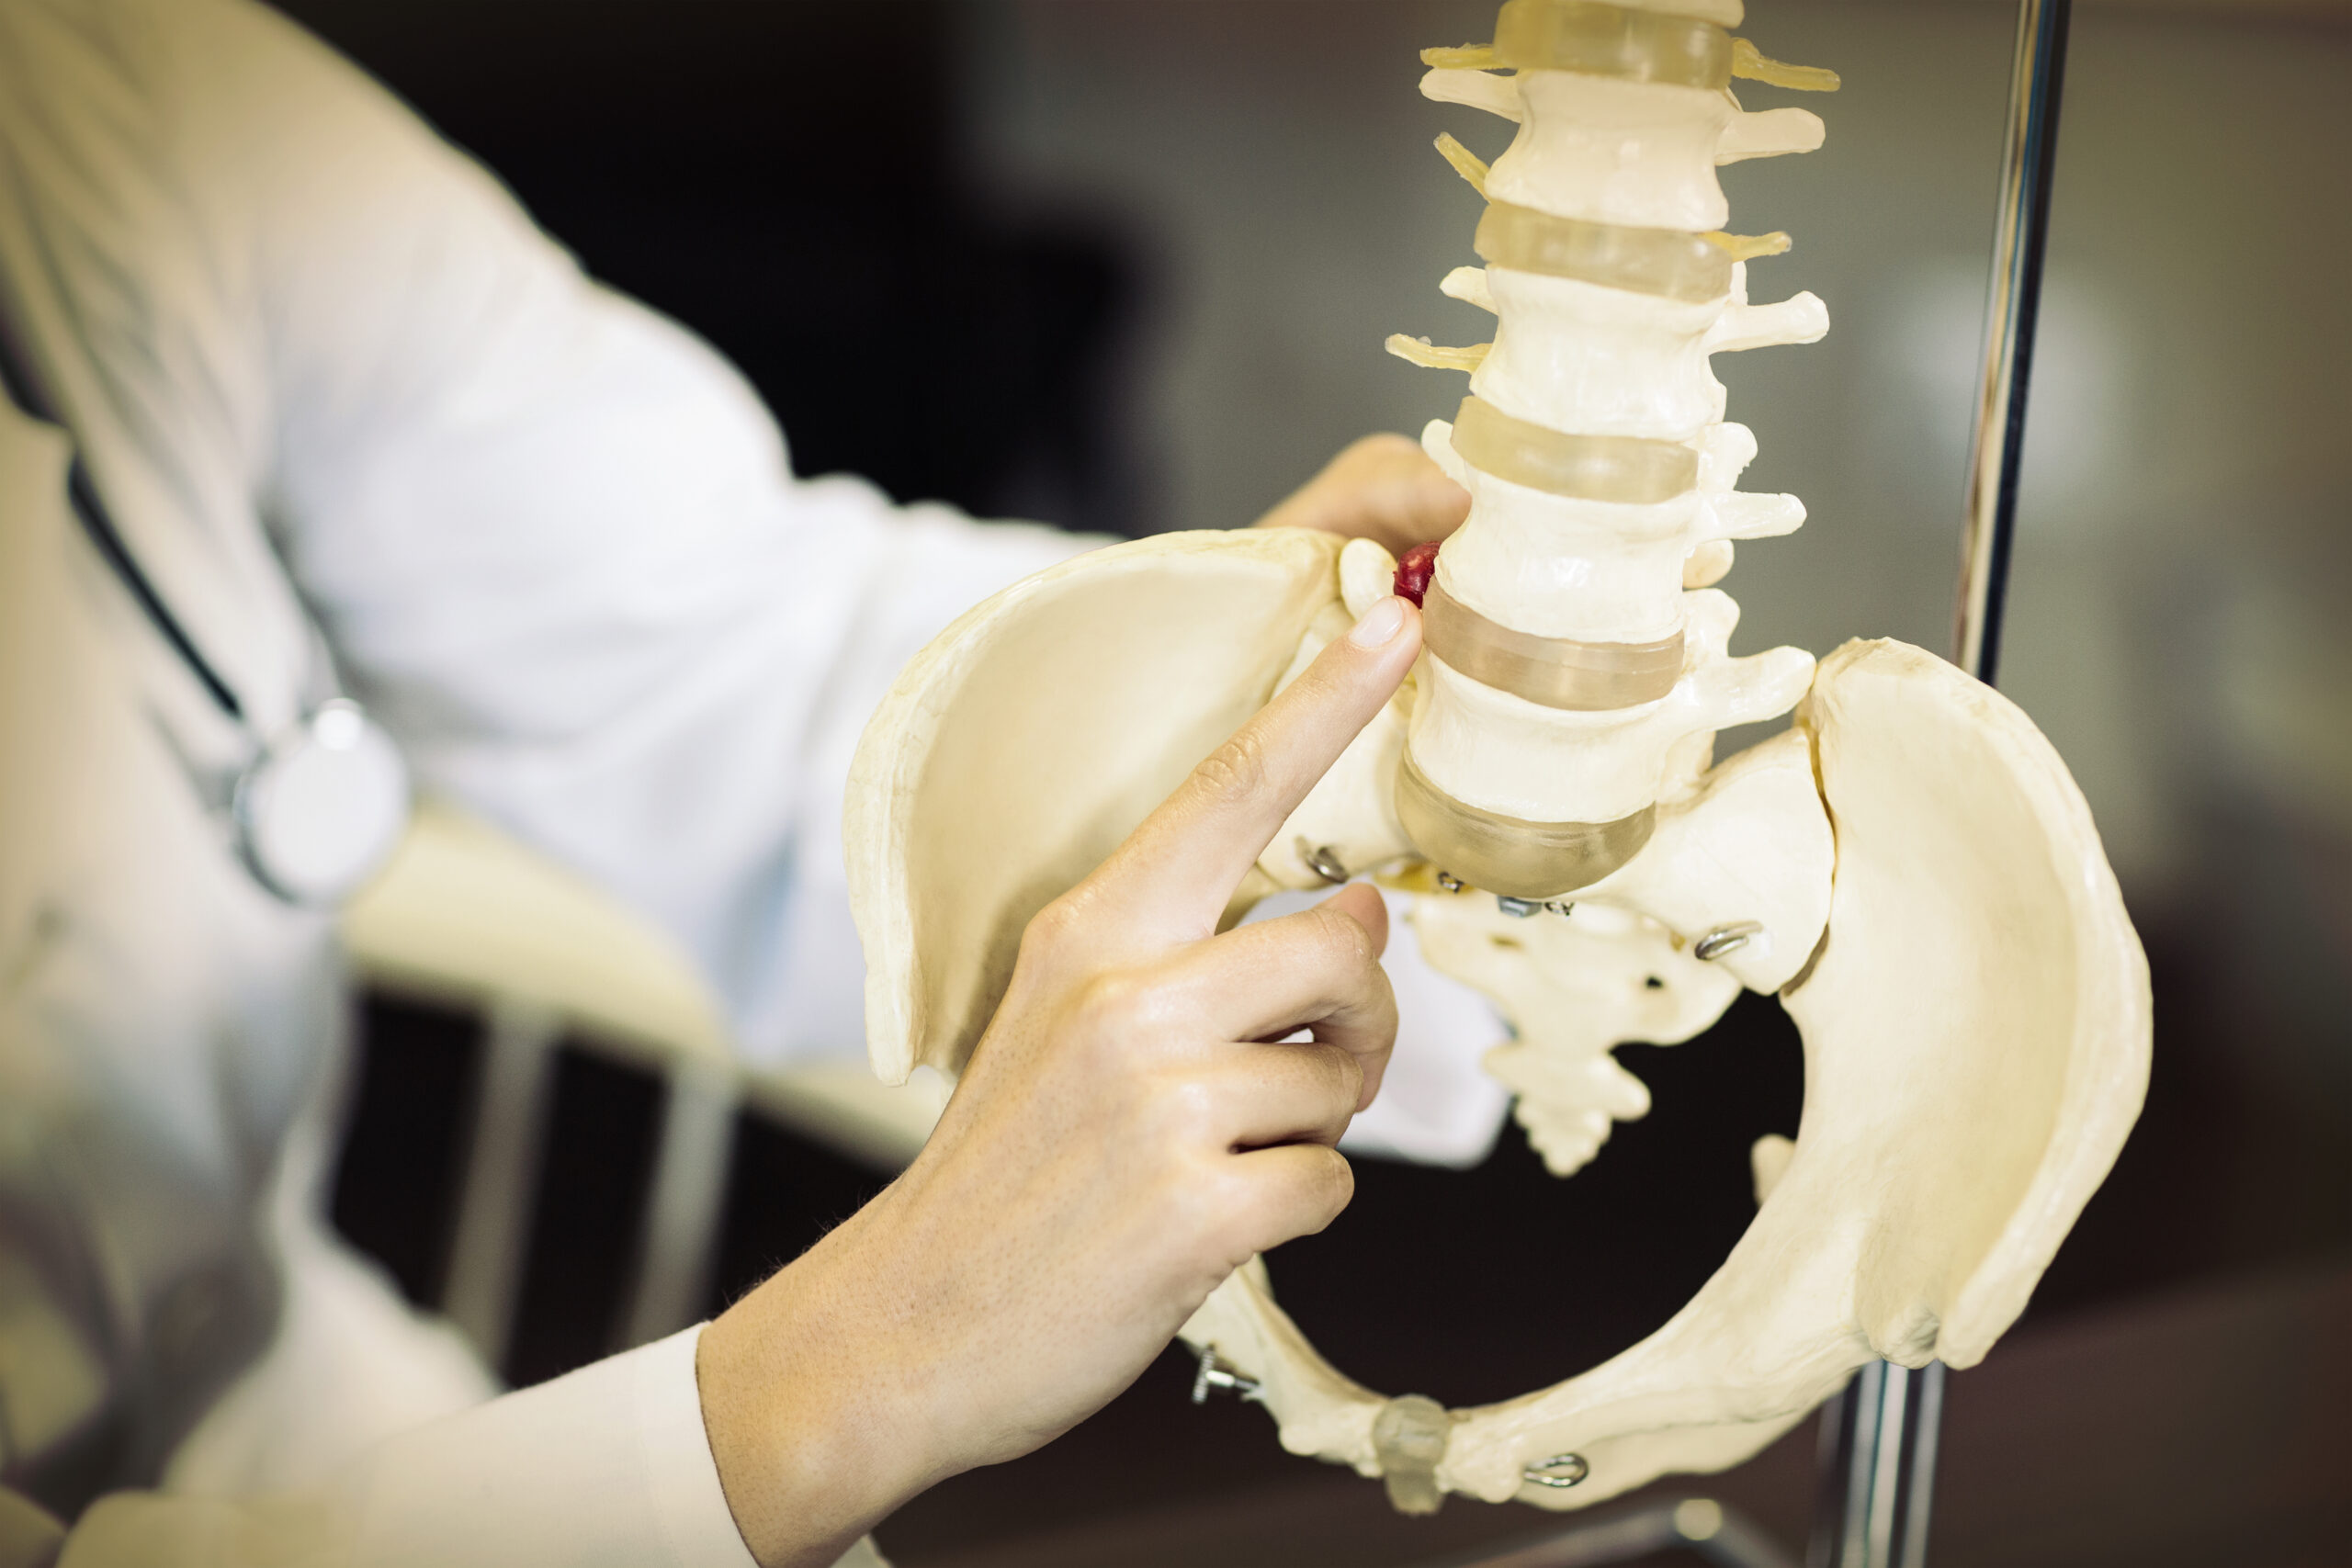
The sacroiliac (SI) joint connects the pelvis to the spine, playing a critical role in weight distribution and movement. Dysfunction here can cause pain, stiffness, or instability. Mobilization techniques aim to restore normal joint mechanics, reduce pain, and improve mobility. Chiropractors must first explain the purpose of the procedure to patients, emphasizing that it’s a hands-on approach to address misalignments or restrictions. Patients should understand that these techniques are part of a broader treatment plan, not a standalone solution. Clear communication builds trust and ensures compliance. The chiropractor should also review the patient’s medical history to identify contraindications, such as severe osteoporosis or recent trauma, which might require modified approaches. This foundational step ensures the demonstration is both safe and effective.
Preparing the Patient for the Demonstration
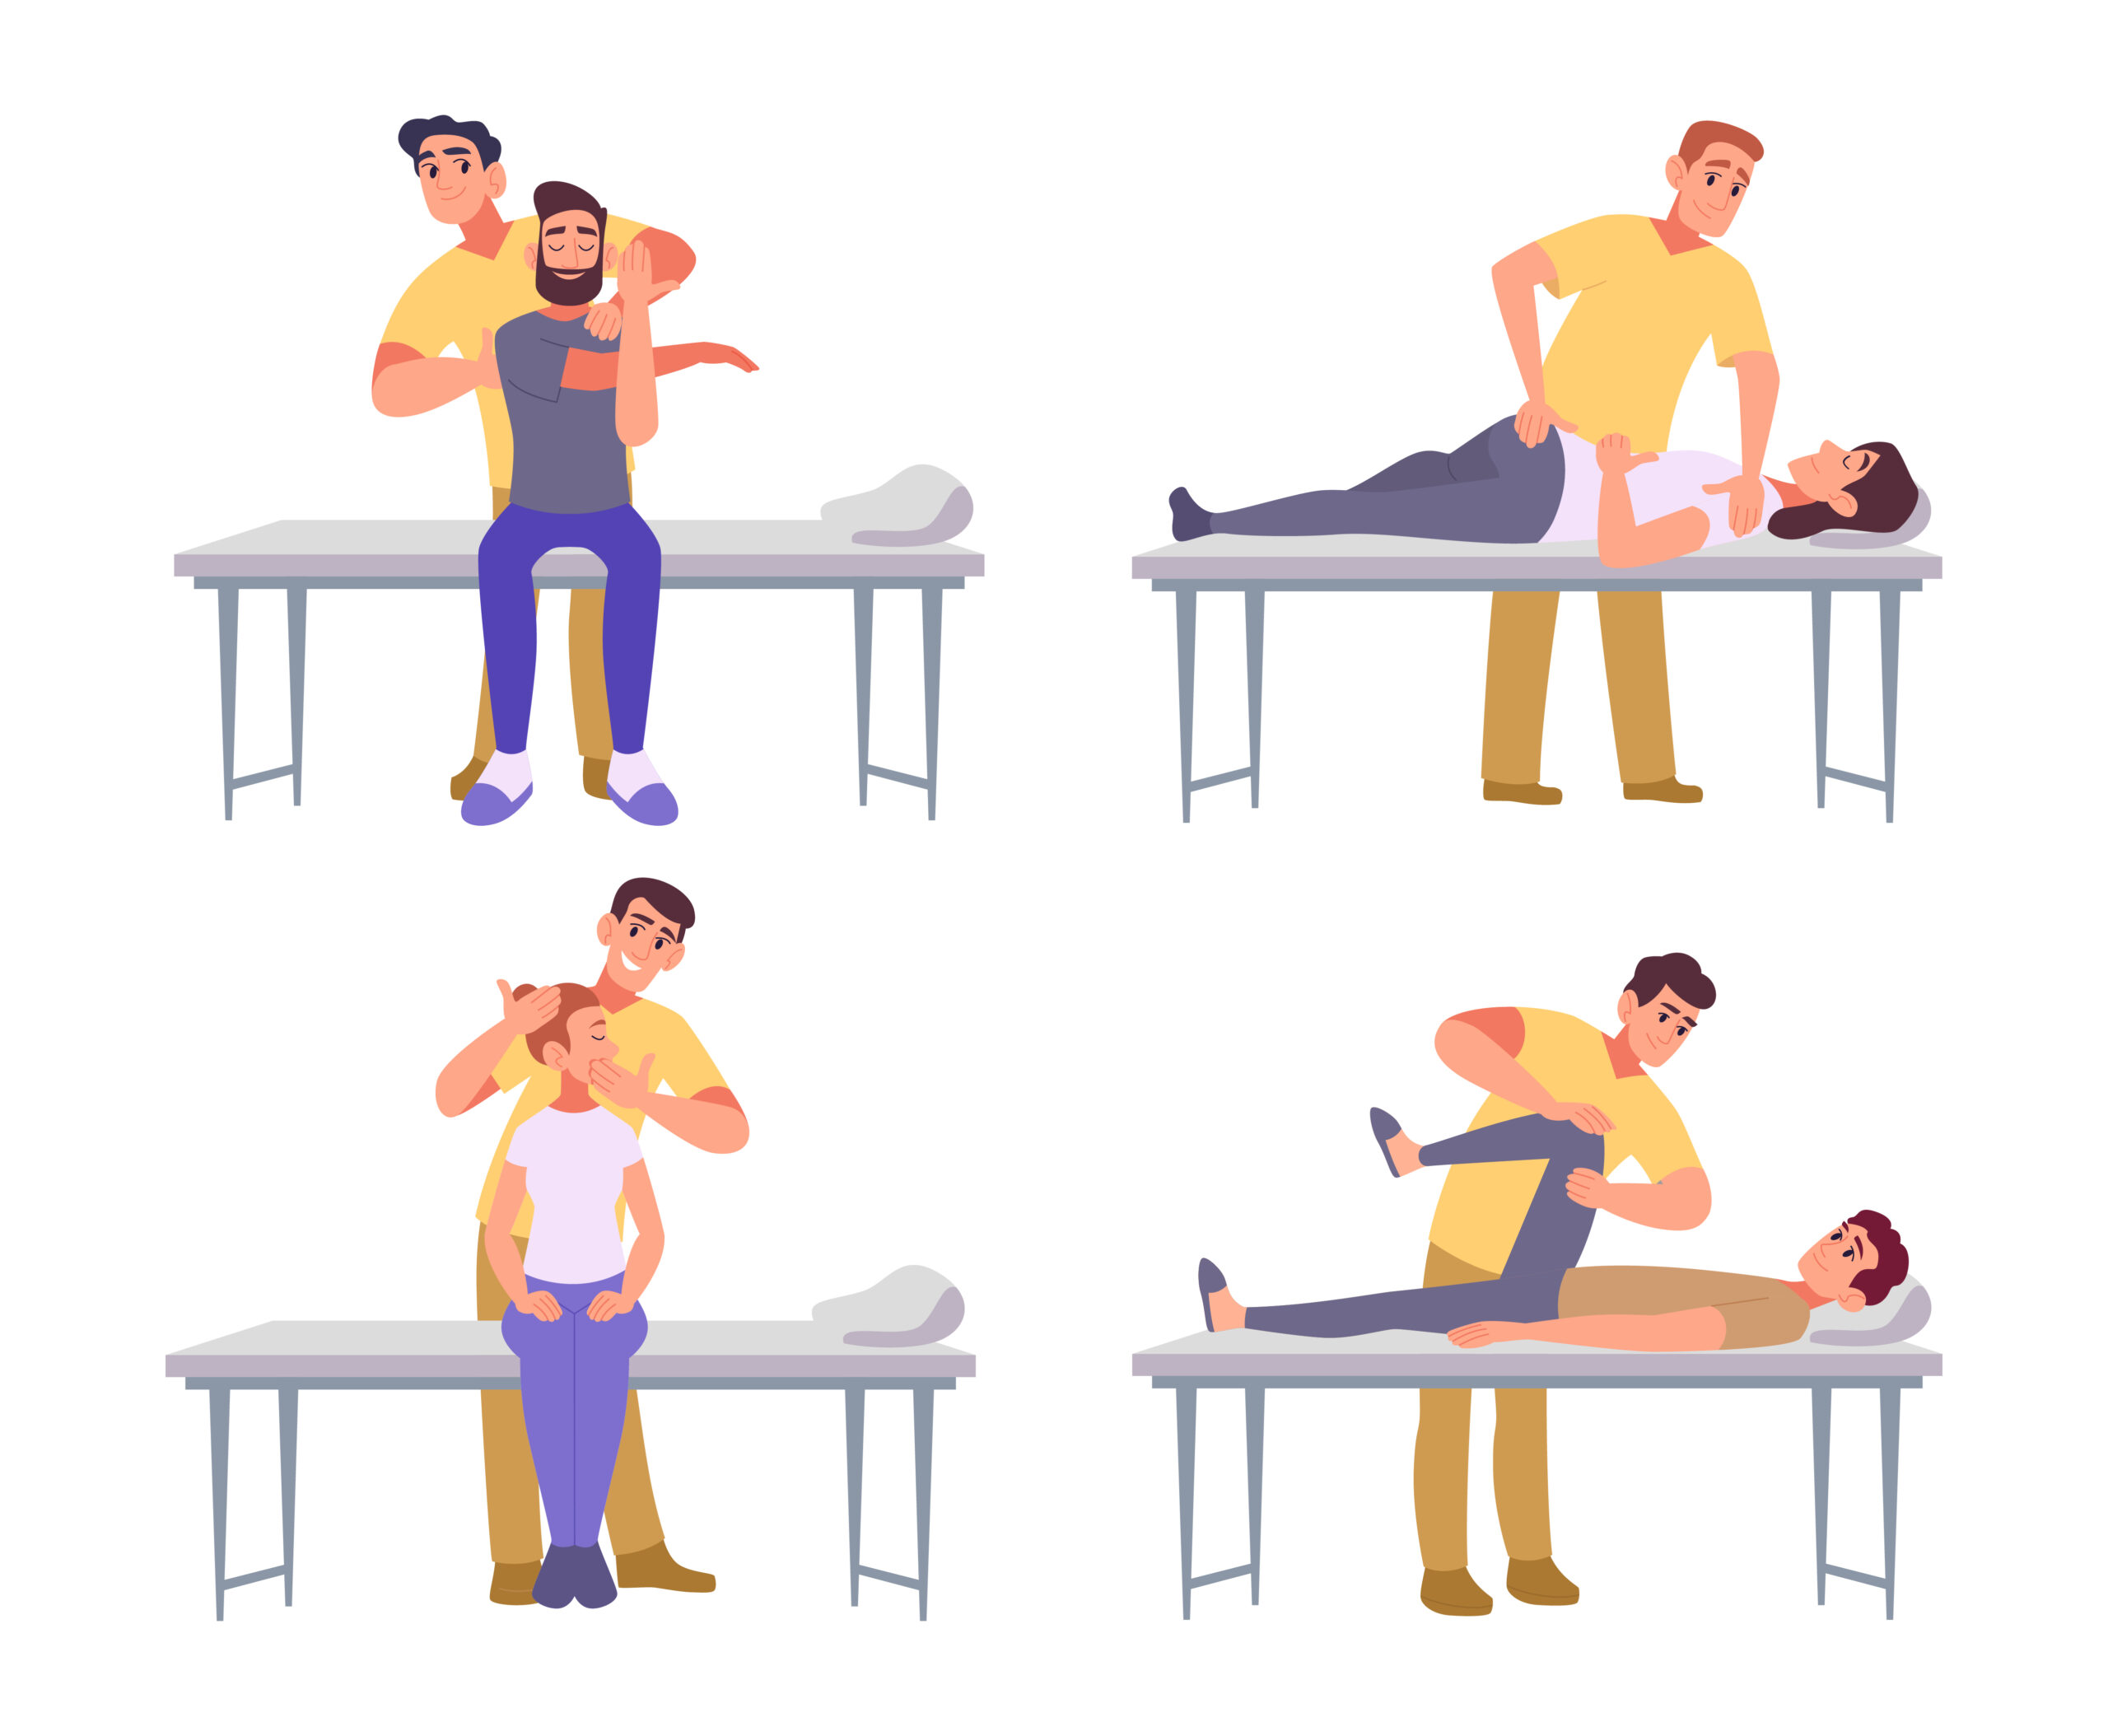
Before demonstrating SI joint mobilization, the chiropractor should position the patient comfortably, typically lying on their back or side, depending on the technique. The practitioner must ensure the patient is relaxed and aware of the steps involved. A thorough explanation of each movement helps patients feel at ease and understand what to expect. For example, the chiropractor might describe how gentle pressure or specific motions will target the SI joint. It’s also important to ask the patient to communicate any discomfort during the demonstration. This interactive approach reinforces the patient’s role in their care. Additionally, the chiropractor should confirm the patient’s understanding by asking them to repeat key instructions. Proper preparation sets the stage for a successful demonstration and fosters a collaborative patient-provider relationship.
Step 1: Assessing Joint Mobility and Patient Readiness
The first step in demonstrating SI joint mobilization is assessing the patient’s current joint mobility. The chiropractor may perform passive range-of-motion tests, such as flexion, extension, and lateral rotation, to identify restrictions. This evaluation helps determine the appropriate mobilization technique. The practitioner should also check for signs of instability, such as pain during specific movements, which might require a gentler approach. Patient readiness is equally important—ensuring they’re mentally prepared and physically comfortable. If the patient has a history of SI joint issues, the chiropractor should tailor the demonstration to their unique needs. This step also allows the provider to address any patient concerns, reinforcing the importance of individualized care. A thorough assessment ensures the demonstration aligns with the patient’s condition and goals, enhancing the effectiveness of the technique.
Step 2: Demonstrating Gentle Mobilization Techniques
The next step involves demonstrating specific mobilization techniques, such as anterior/posterior glides or distraction movements, using controlled, low-force motions. The chiropractor should model each step slowly, emphasizing the importance of precision and patient comfort. For example, they might show how to apply a posterior glide to the sacrum while the patient lies supine, ensuring the movement is pain-free. The practitioner should also explain how these techniques help reduce joint stiffness and improve alignment. It’s crucial to highlight the difference between mobilization and manipulation, as patients may confuse the two. By breaking down each movement, the chiropractor ensures the patient understands the purpose and mechanics. This step also allows the provider to observe the patient’s reaction, making adjustments as needed. Clear, methodical demonstrations build patient confidence and encourage active participation in their care.
Step 3: Encouraging Patient Participation and Feedback
After demonstrating the technique, the chiropractor should invite the patient to practice under supervision. This hands-on approach helps patients internalize the movements and recognize proper form. The provider should guide the patient through each step, offering corrections as needed. Encouraging open dialogue allows patients to voice any concerns or discomfort, fostering a supportive environment. For instance, the chiropractor might ask, “Does this feel comfortable, or would you like me to adjust the pressure?” This feedback loop ensures the technique is tailored to the patient’s needs. The chiropractor should also explain how to replicate the movements at home, if appropriate, and emphasize the importance of consistency. By involving patients in the process, the demonstration becomes a collaborative learning experience, reinforcing their commitment to recovery.
Ensuring Safety and Long-Term Compliance
Safety remains a priority throughout the demonstration. The chiropractor should monitor the patient for any adverse reactions, such as increased pain or dizziness, and pause the technique if needed. They should also advise patients on when to seek further care, such as if symptoms persist or worsen. Educating patients on self-care strategies, like stretching or posture adjustments, extends the benefits of the technique beyond the session. Follow-up appointments allow the chiropractor to assess progress and modify the plan as necessary. By emphasizing long-term compliance, the provider helps patients integrate these practices into their daily routines. This holistic approach not only addresses immediate concerns but also supports sustained musculoskeletal health. Ultimately, the demonstration serves as a foundation for ongoing care and patient empowerment.