Introduction to Sacroiliac Joint Adjustments
The sacroiliac (SI) joint connects the sacrum to the pelvis and plays a critical role in weight distribution and movement. Dysfunction in this area can cause pain, limited mobility, and referred symptoms. Chiropractors often use adjustments to restore proper alignment and function. This guide provides a structured approach to demonstrating SI joint adjustments, ensuring clarity for patients. Effective demonstration builds trust and helps patients understand the purpose and process. By breaking down each step, chiropractors can enhance patient compliance and reduce anxiety. This method also supports informed decision-making, allowing patients to ask questions and engage actively in their care. The focus remains on education, not treatment, emphasizing collaboration between provider and patient.
Pre-Adjustment Patient Preparation
Before demonstrating an SI joint adjustment, ensure the patient is comfortable and fully informed. Begin by explaining the purpose of the demonstration, emphasizing that it is for educational purposes, not a real adjustment. Position the patient in a neutral, relaxed posture, such as sitting or lying down, depending on the technique. Use clear, non-technical language to describe the process, addressing any concerns they may have. Obtain verbal consent to proceed, reinforcing that they can stop at any time. Establishing rapport and transparency is essential. This step also allows the chiropractor to assess the patient’s baseline comfort level and readiness. By prioritizing communication, the demonstration becomes a collaborative, educational experience rather than a passive observation.
Step 1 – Patient Positioning
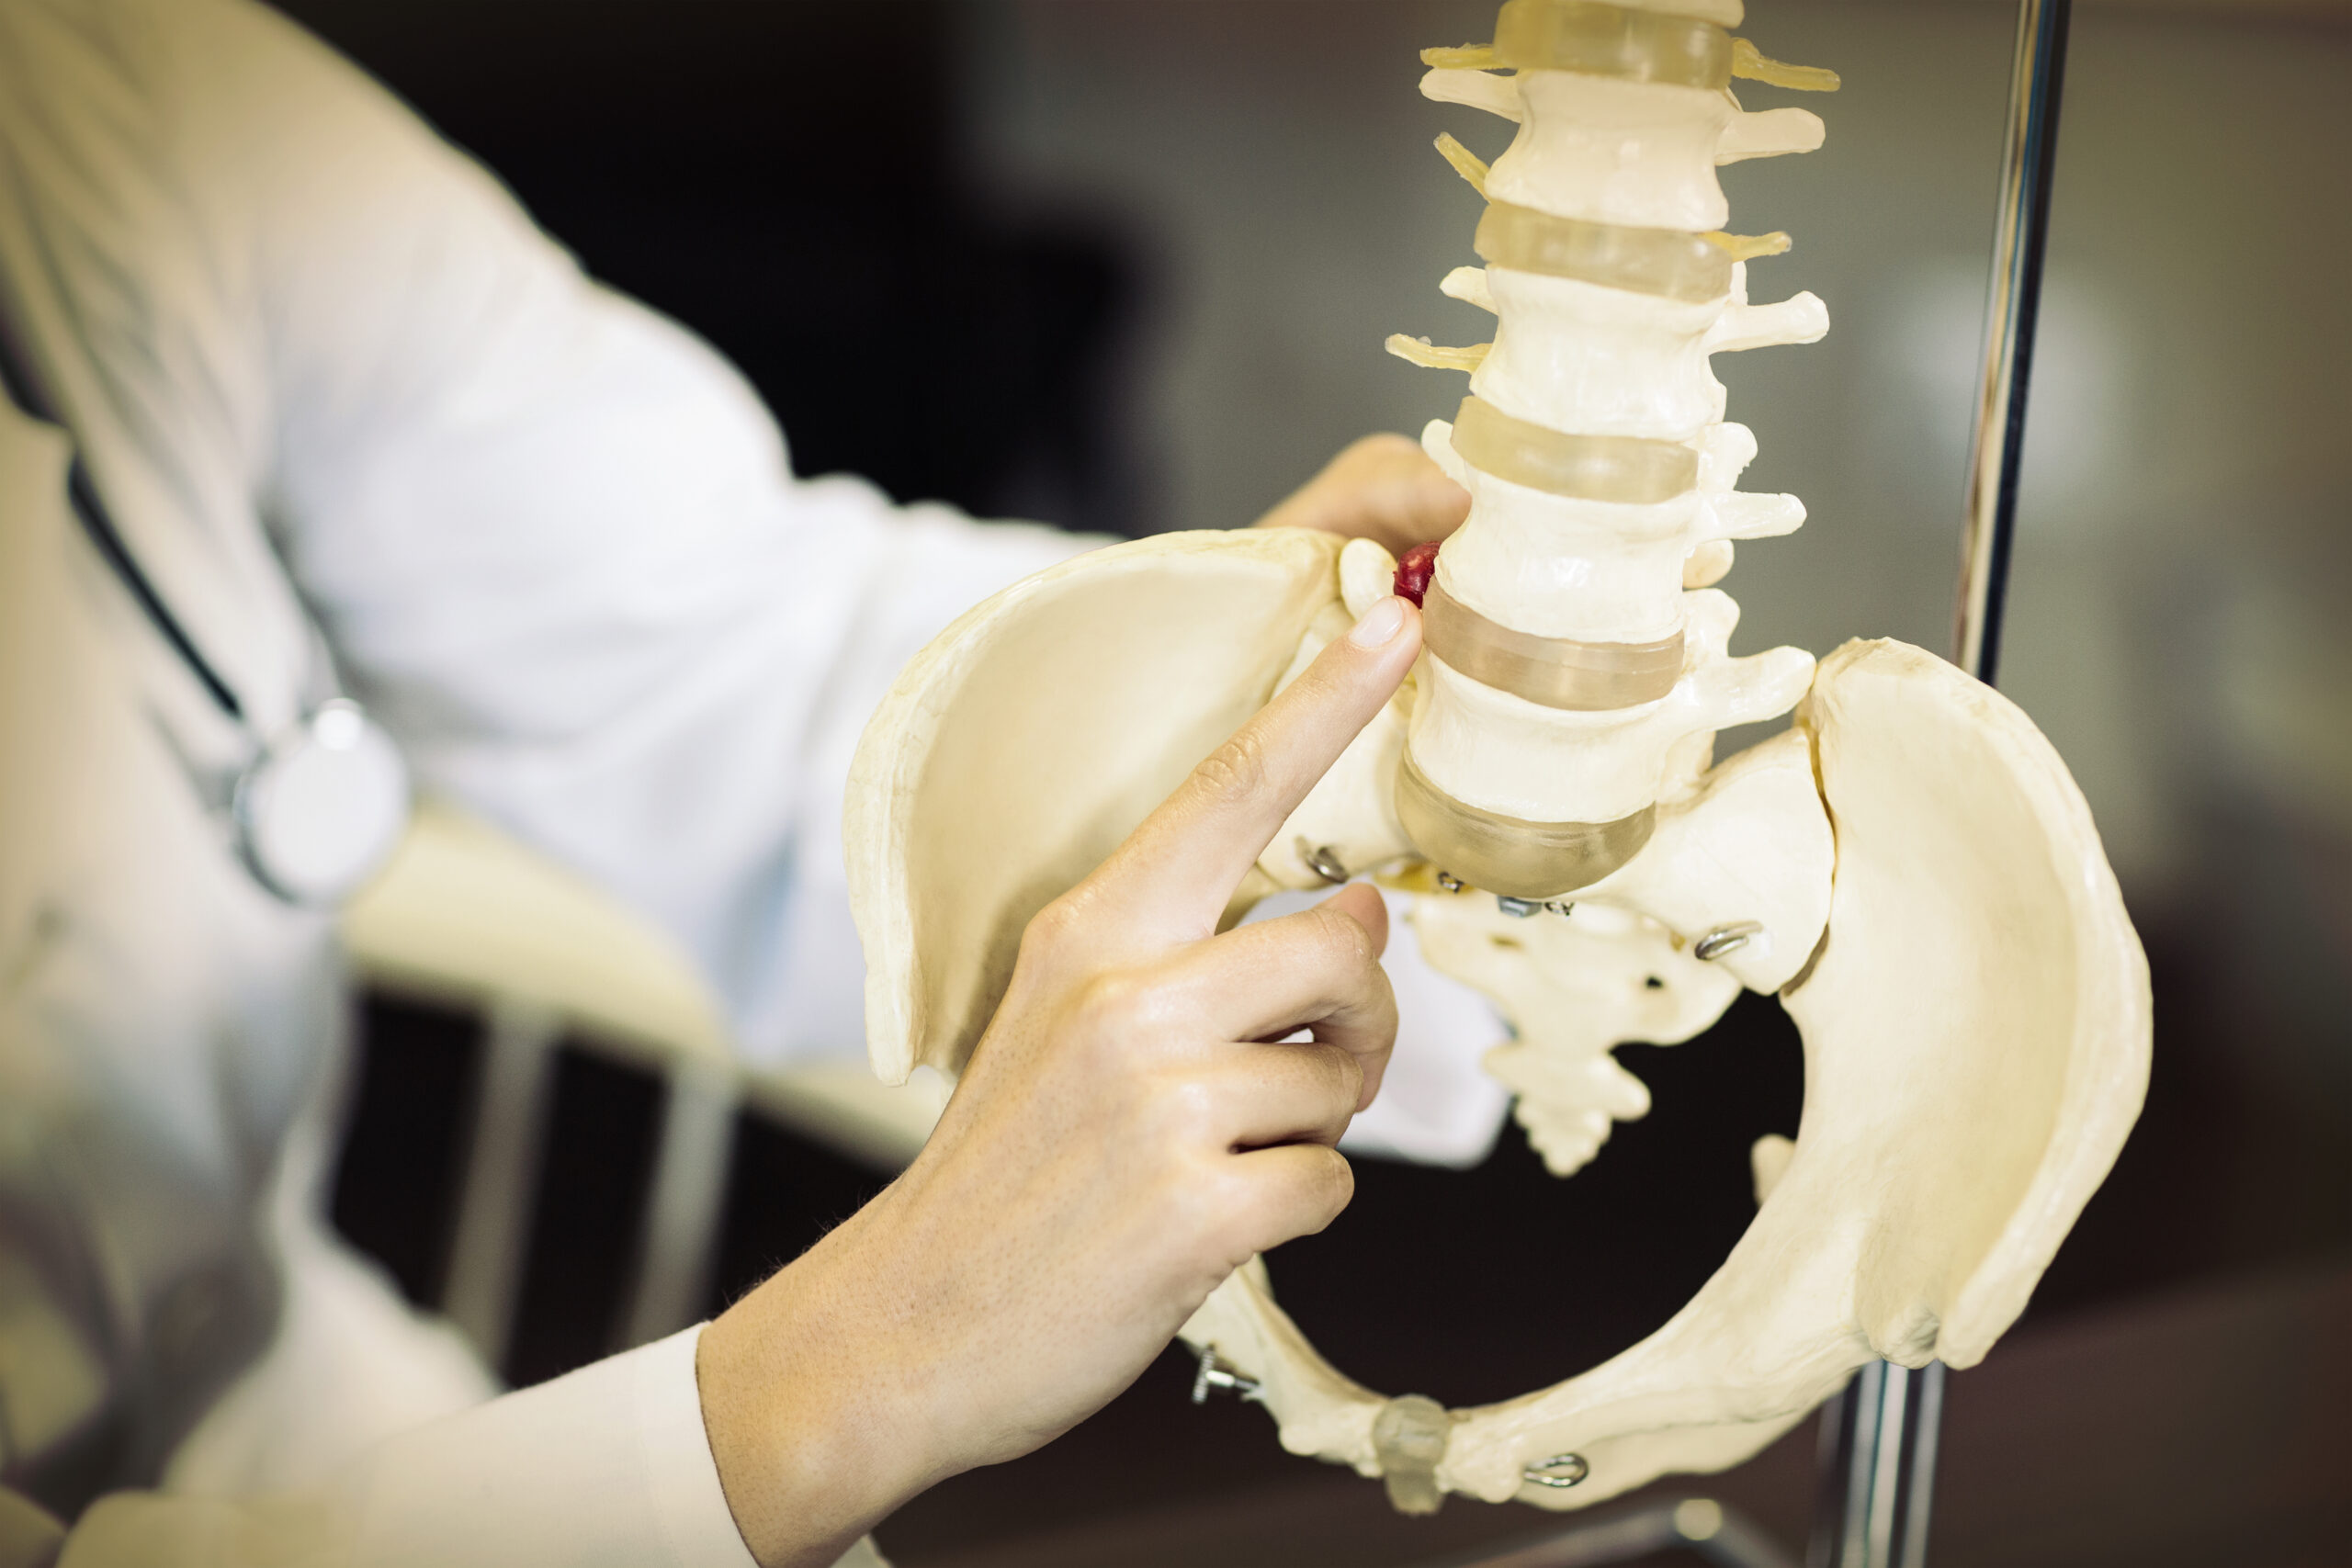
Proper patient positioning is critical for both safety and clarity during the demonstration. For a typical SI joint adjustment, the patient may lie on their side with the affected side up, or in a supine position, depending on the technique. The chiropractor should stand on the side of the patient’s body being adjusted, ensuring stable footing and a clear view of the joint. The patient’s spine should remain neutral, avoiding unnecessary strain. The chiropractor’s hands should be placed strategically—often on the pelvis or lower back—to simulate the adjustment. This step requires careful alignment to model the actual procedure accurately. Demonstrating the correct posture helps patients visualize the process and understand the importance of body mechanics in effective adjustments.
Step 2 – Assessment and Palpation
Before simulating the adjustment, the chiropractor should briefly explain how they would assess the SI joint in a real session. This includes palpating the area to identify tenderness, asymmetry, or restricted motion. Use gentle pressure to demonstrate how the hands locate the joint and evaluate its function. Emphasize that this step helps determine the need for an adjustment and ensures the technique is tailored to the patient’s condition. Avoid making definitive diagnoses, as this guide focuses on demonstration, not clinical evaluation. Highlighting the importance of individualized care reinforces the role of professional judgment. This step also educates patients on the diagnostic process, fostering a deeper understanding of their treatment plan.
Step 3 – Performing the Adjustment
Simulate the adjustment technique while explaining each movement. For example, if using a sidelying position, the chiropractor might apply a controlled, quick thrust to the pelvis to realign the SI joint. Describe the direction, speed, and force of the movement, emphasizing that it is precise and gentle. Use verbal cues to guide the patient through the process, such as “I will now apply a small, targeted movement to the pelvis.” Avoid overcomplicating the explanation; focus on key elements like joint engagement and patient comfort. This step should mirror the actual procedure as closely as possible while maintaining a clear, educational tone. By breaking down the mechanics, patients gain insight into how adjustments can alleviate their symptoms.
Post-Adjustment Communication
After the demonstration, explain what the patient might experience during a real adjustment, such as a popping sound or a sense of relief. Reassure them that these sensations are normal and vary by individual. Encourage questions to address any lingering concerns. Highlight the importance of follow-up care and how adjustments fit into their overall treatment plan. Avoid making promises about specific outcomes, as results depend on individual factors. This final step reinforces the educational goal, ensuring patients leave with a clear understanding of the process. It also strengthens the patient-provider relationship by fostering open dialogue and mutual trust.